Eye patching is a common treatment prescribed by an optometrist or ophthalmologist to help a lazy eye (or amblyopic eye) see better.
When a child has amblyopia where one eye is weaker than the other, a phenomenon called ‘suppression’ occurs, where the brain only recognises the picture seen by the good eye and ignores the one from the amblyopic eye. Overtime, the amblyopic eye becomes weaker the more it is ignored by the brain. This may lead to permanent vision loss of the amblyopic eye.
By placing a patch over the better-seeing eye, the child’s brain is forced to ‘recognise’ the image from the amblyopic eye. This stimulates the development of nerve pathways between the amblyopic eye and the brain, thereby improving the vision in this eye.
The success of eye patching in amblyopia treatment largely depends on compliance from the child to wear their patch as prescribed by your optometrist.
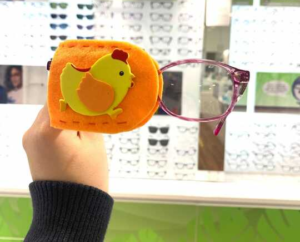
Motivate them to wear their eye patch by making it fun for them with this DIY eye patch! Your child can select the colour and design, so they can customise a patch they can call their own—and would love to wear!
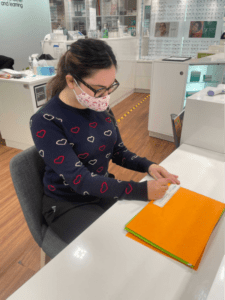
Materials
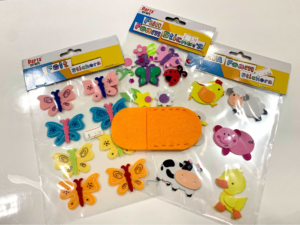
Coloured felt cloth, ruler, pencil, scissors, felt stickers or fun foam stickers, paper template (download printable template), needle and thread.
Instructions
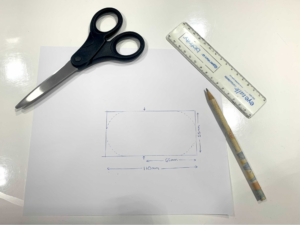
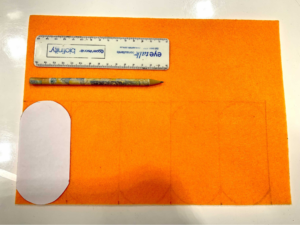
1. Plan out the dimensions of your patch on a piece of paper—we recommend 110mm in length and 55mm wide for a standard kids frame from Eyecare Kids.
2. Get your tools ready to make your customised patch! This includes your paper template, a pencil, a ruler, and a pair of scissors.
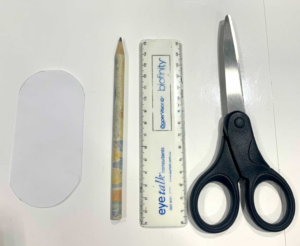
3. Trace your paper template on a piece of colourful felt with your pencil and ruler.
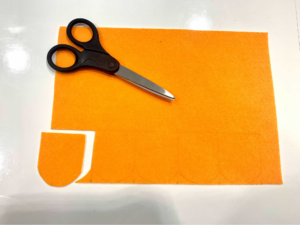
4. Carefully cut out your felt eyepatch with a pair of scissors—ask a parent for help.
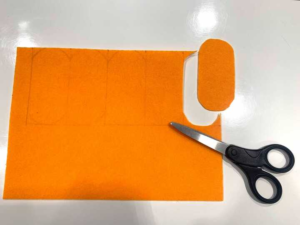
5. Use your paper template again to trace the front, smaller section of the patch—this time using the same 5mm width but 65mm length.

6. Carefully cut out the second piece of felt.
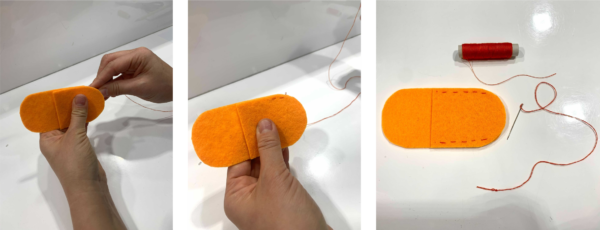
7. Overlap the 2 pieces, and start to see your patch come together!
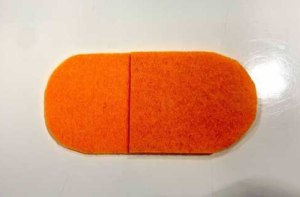
8. Stitch two straight lines on each side of the patch with a needle and thread.
9. Now it’s time to decorate! Choose from a range of stickers or felt patches to match your personality.
10. Stick the foam sticker or felt sticker onto the front of the patch.
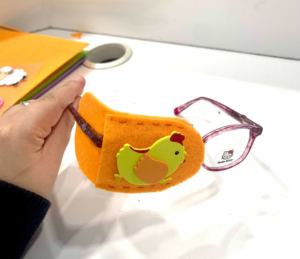
11. And TA-DA! All done.